

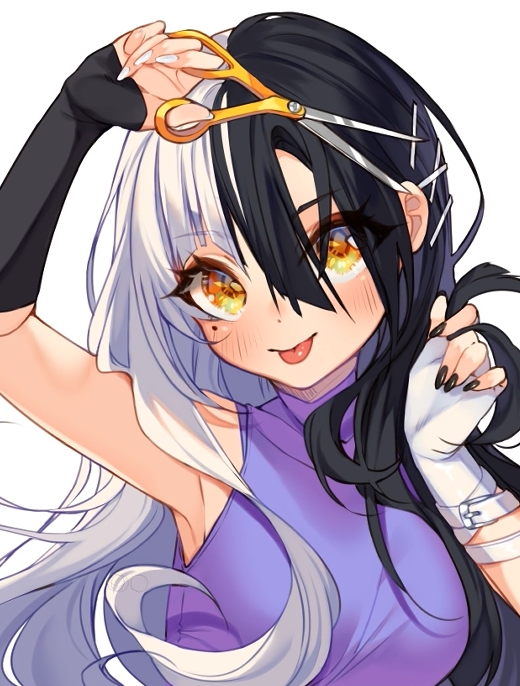
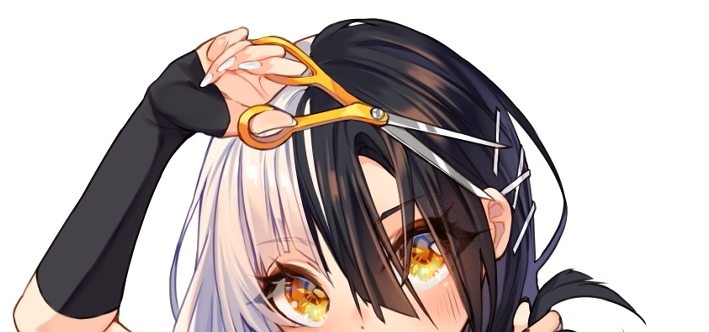
How To Draw Anime Hair Girl
Hair is i of my top 5 favorite things to draw and color, and this was also a very requested tutorial. I tried to add equally much information every bit possible while keeping the video fun to watch and full of tips!
Nada here is a hard dominion, and it'southward more often than not to show how I practice things, and then I promise yous enjoy it 🙂
Using references
It's tough to depict things when you don't check what they look like in real life. Then every fourth dimension you're stuck, search for photos! Non just of anime drawings, merely actual people every bit well.
Where, you enquire? There're plenty of places; yous can keep Pinterest, Instagram, DeviantArt, etc.! And if you think that'southward cheating, copying, or stealing, it'southward not. Every groovy artist uses references, so you should too!
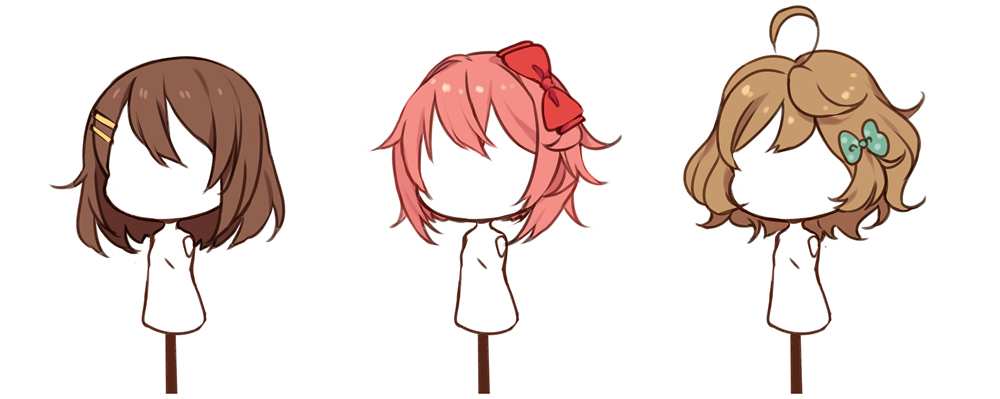
Shape and volume
Hair and eyes in anime are oftentimes used to limited emotions and a grapheme's personality, so they're usually given more than details than in real life. Merely this is drawing, and then there aren't any complex rules for this! Let your paw flow, and practice your creativity. Take a await at your favorite anime drawings. How does the pilus make you feel?
Direct black hair feels serious;
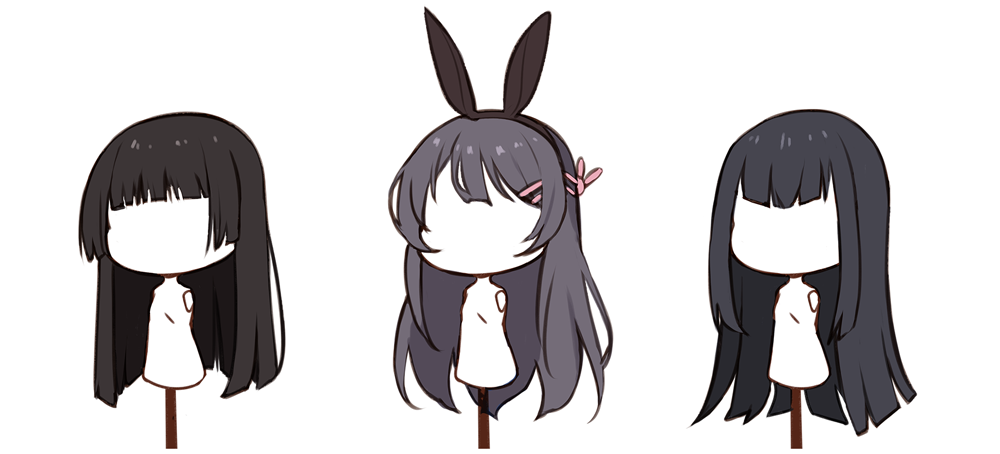
while fluffy curls are warm and welcoming!
Sketching tips
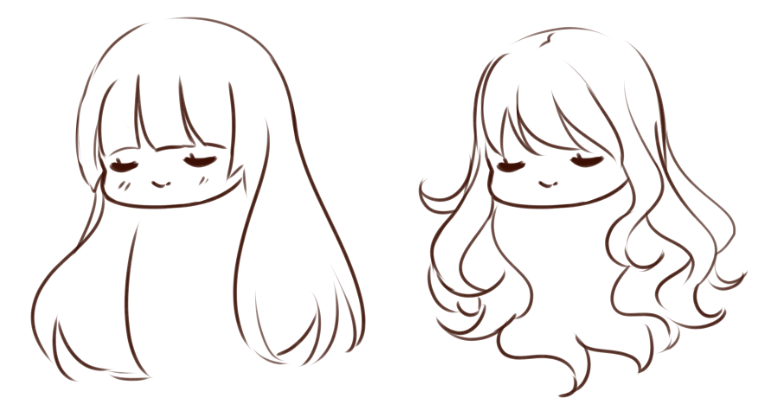
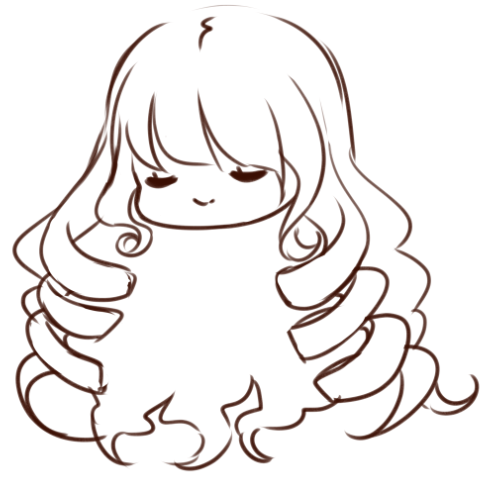
I commencement hair just thinking of the general outline without giving much attending to details: when sketching, but the general shape matters.
If you don't know where the pilus starts in the head, think of the skull, and add some padding. A simple line in the middle should be enough to represent that. You lot can make the top part more circuitous as yous learn how pilus works.
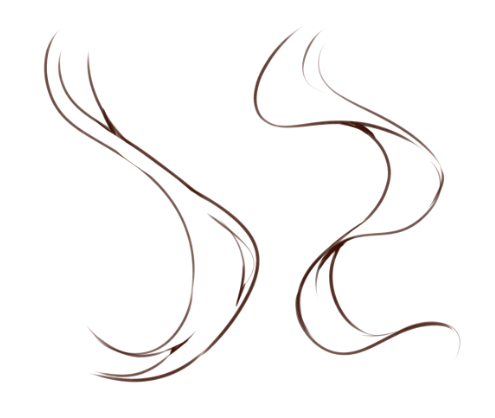
Besides, it's practiced to work with South curves. Fifty-fifty if the hair is straight, it can exist a long open S, making the hair wait light and flowy. With wavy pilus, the South curves will be more visible!
For perfectly curly pilus, I apply a different technique. I commencement draw a spring and define the front end part. Then, I duplicate that line shape.
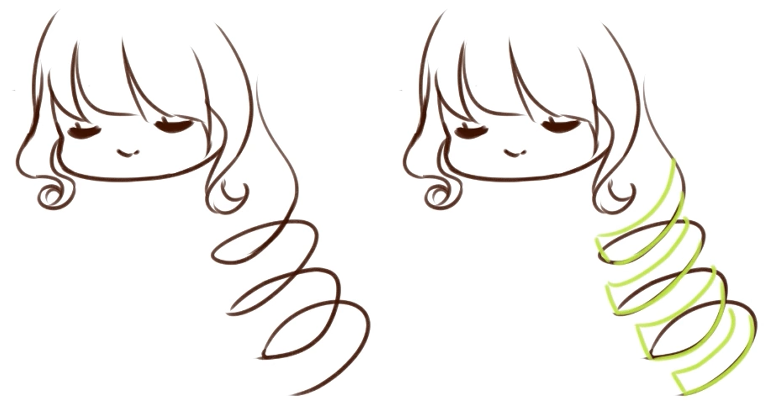
After that, I erase the lines that are on the back and connect them to form a full spring!
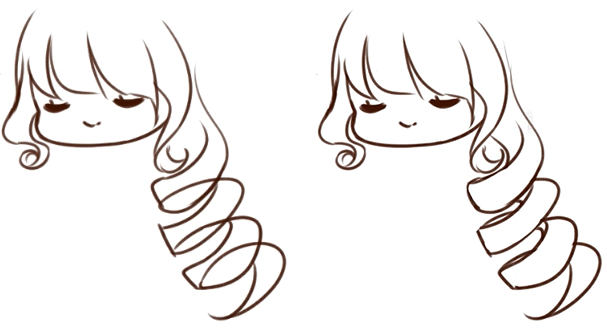
You don't need to draw every strand like that (experience free to exercise and then if you similar though!), a few will exist enough to give the feeling you are looking for, and the back tin just have a simple shape.
Don't be afraid to delete what looks wrong and endeavour over again. Even if it takes fourth dimension, spending time on this part to go the feeling correct volition pay off in the end.
Another important tip is to piece of work with long lines, not short craven scratches. It will make your cartoon look more polished, and yous will accept fewer chances to hurt your wrist!
Take breaks if you are lost, and look up new references to refresh your optics. Make sure to leave them open while y'all draw; it will help a lot.
About lineart
Depending on the drawing, I will clean up the sketch instead of creating lineart.
By "clean up", I mean I will erase the messy lines and become over them when necessary, giving it a different feeling than a perfectly clean line. I feel this helps me relax about art and not worry too much near details.
You don't need to over-zoom and glue your face on the screen to be sure the lines are perfect! To be quite honest, y'all are probable to exist the only one that volition be able to spot your minor mistakes.
The brush for lineart can be the same equally for sketching, just this volition depend on how you lot desire it to look. I highly recommend looking at the standard brushes or checking Clip Studio Assets. At that place are many fun brushes yous tin can easily download and use.
In this phase, you can make the lines thicker where they intersect or where shadows will be. It volition give your lines more depth.
Shading
In one case yous accept the base color added, define where your light source is. Recollect your basic lessons about ball shading? Do exactly that.
To practice this, lay out a general shape with the shading colour.
Once y'all take the general shape divers, you can polish it until your liking.
But as you are nonetheless learning, you don't demand to go fancy on the shading. Go slowly, within the scope of what you feel is challenging plenty for your electric current skills, then make it complex as y'all go!
As you can come across, there's some kind of backlight on the blackness that matches the grey on the white side. I commonly add some extra color to the hair I draw, because it looks pretty!
Now, how to pick the right colour?
Short answer, there is no right color! Play with them until you discover what yous like: endeavour pink in blue, purple in light-green, orange in yellow, and so on. Have fun! Wonder how to brand blackness and white hair not await gray, purple, etc.
If you use similar colors to your drawing's surroundings, the tone will look right. For case, if her shirt were cherry, I would add more red tones to the hair. I tend to apply colors already on the cartoon and playing around with them. Like this hair strand in a blue and reddish room: there's a bit of each color on information technology.
Simply if you are working with complicated pilus like a rainbow or gradient, you can set a new layer on top in Multiply blending style, and examination out which colors work better without messing upwards the gradient.
Highlights
This function is very fun, and there are many means to add together shine to the pilus.
Yes, even white hair!
I like to airbrush the skin color on the bangs, and then when I add white highlights on meridian, it will bear witness!
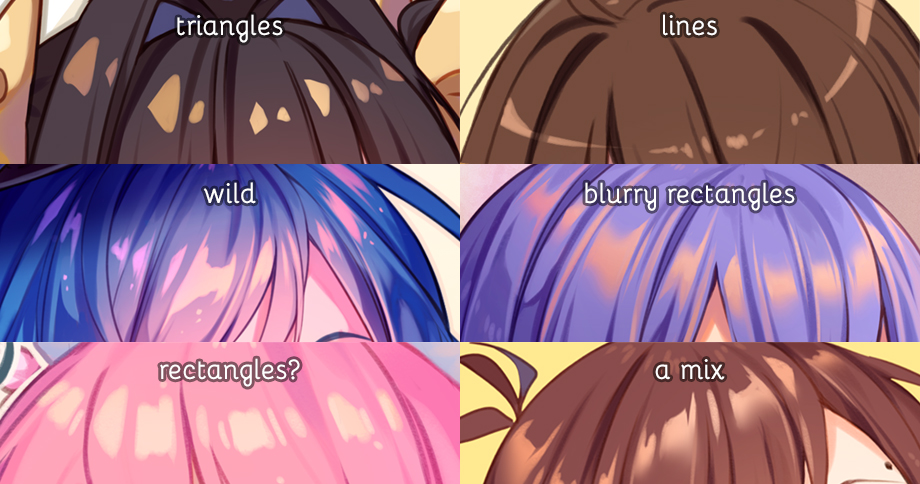
If you don't know which color to utilize, you can take the hair color, create a new layer, fix the blending way to Add (Glow), and and then add together blobs, triangles, lines, etc. Any shape works, and then do what fits your gustatory modality, and and then use hue and saturation (Ctrl+U) to change the colour to a tone that matches.
When I add together highlights, that's when I also add together messy strands. We all struggle with messy hair, right?
Another little matter I bask is making the eyelashes and eyebrows transparent. You lot can hands do that by locking the lineart layer, and and so coloring with a color that's darker than the pilus, or lighter. Attempt information technology out; it depends on the hair colour you are using, and if your lineart is set every bit multiply or not.
Conclusion
Maybe yous're notwithstanding unsure how to draw hair fifty-fifty subsequently this tutorial, but I don't expect yous to suddenly be a pro. As I e'er say, art takes time.
So at the very least, accept away this important indicate from this: use references! I can't repeat this enough only make certain to use them mindfully.
I believe you don't actually need a step-by-step to learn something. Instead, try to understand things in your own way. Equally long as you relish what y'all do and are up for the challenges life will bring, you will grow equally an artist!
Practicing is key, but patience and passion make upward the door.
Thanks very much for checking it out!
Have a proficient time drawing ☆ ~('▽^人)
– Hyanna Natsu
YouTube Channel

Source: https://www.clipstudio.net/how-to-draw/archives/161517
Posted by: brownhatichoode.blogspot.com
0 Response to "How To Draw Anime Hair Girl"
Post a Comment